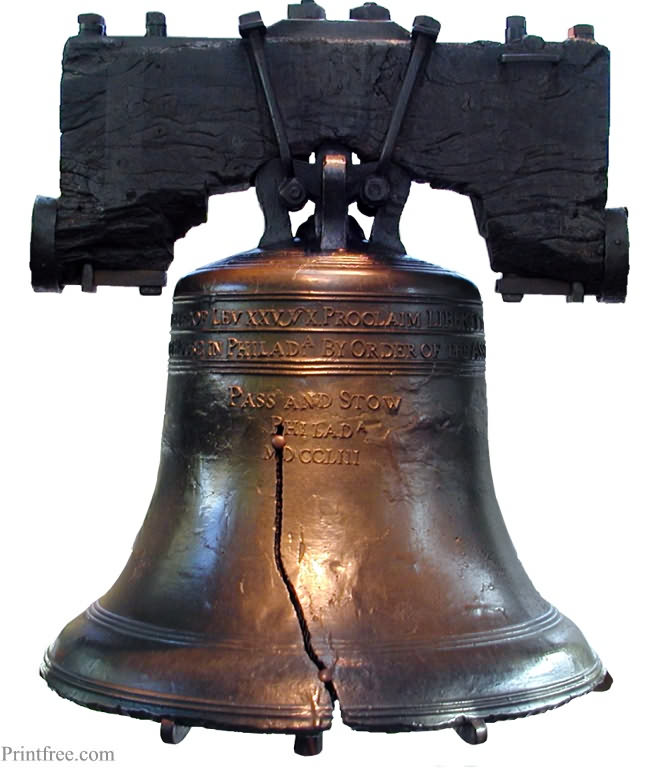
Liberty Bell
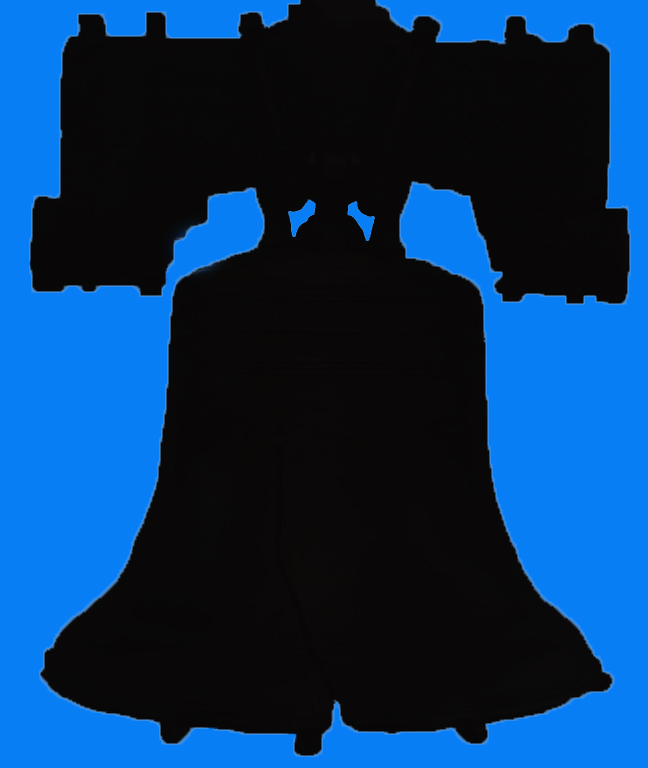
Silhouette
- Open an
image in Photoshop
- Choose Save
As from the File menu and give a new name
- Unlock the background by double-clicking on the lock in the layers tab
- Use the
Selection tools such as Magic Wand, Quick Selection,
or lasso to select portions of the background - press
Delete to eliminate the background colors
- Select the
background with the Magic Wand, Quick Selection tool
or lasso tools
- From the Select menu choose Inverse
- Set the
Foreground color to Black - then Edit > Fill >
Foreground color
- Select the
background with the Magic Wand, or if the main image
is still selected, choose Inverse again
- Select the Foreground to a bright color - then Edit > Fill Selection
- Save both images as .jpg and attach in JupiterGrades
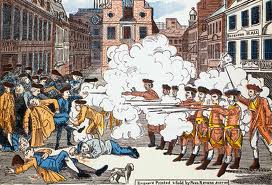
Boston Massacre
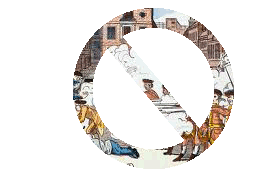
Image in Shape
- Create a new blank document in Photoshop
- Select custom shape tool and set the fill color to black
- Draw the shape
where you would like it in the file
- Unlock the background by double-clicking on the lock in the layers tab
- Remove
background color so that it is transparent
- Open the image that you want placed in the shape, it will open in a new tab
- Select All, then Copy
- Go to the Shape and Edit > Paste
- Right Click on the image layer and select > Create Clipping Mask
- Delete the
white background
- Crop unwanted
background space
- Save both images as .jpg and attach in JupiterGrades
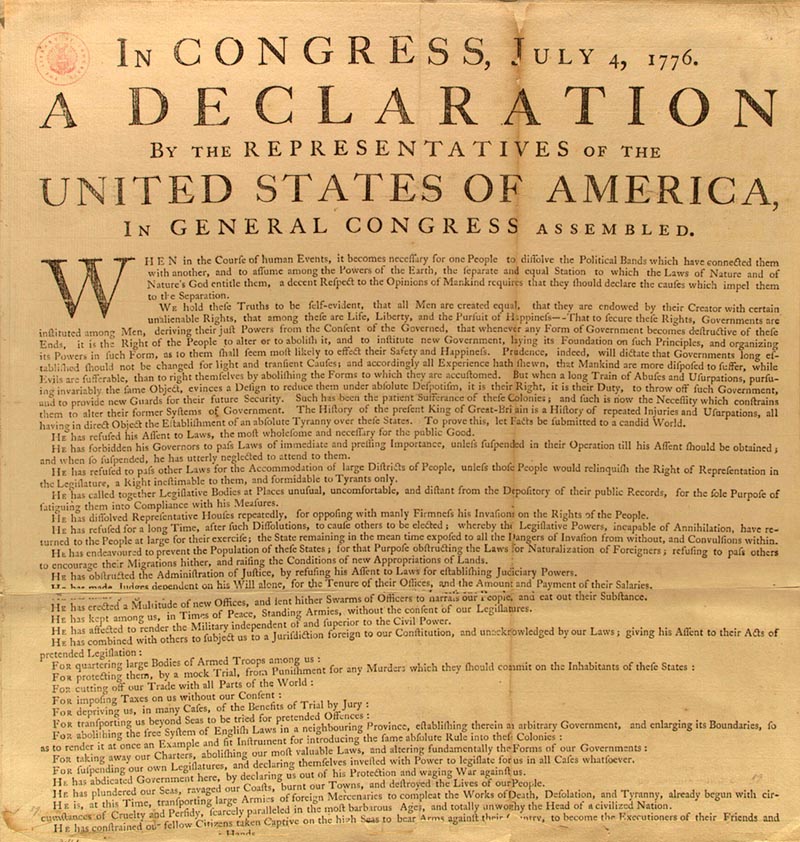
Declaration of Independence

Image In Text
- Open image in Photoshop
- Choose Save As
from the File menu and give a new name
- Unlock the background by double-clicking on the lock in the layers tab
- Use the Horizontal or Vertical Type Mask Tool text tool to type in a bold style
- Select Layer 0
- Select the Add Layers Mask icon at the bottom of the
layers tab
- Crop unwanted background space
- Save both images as .jpg and attach in JupiterGrades
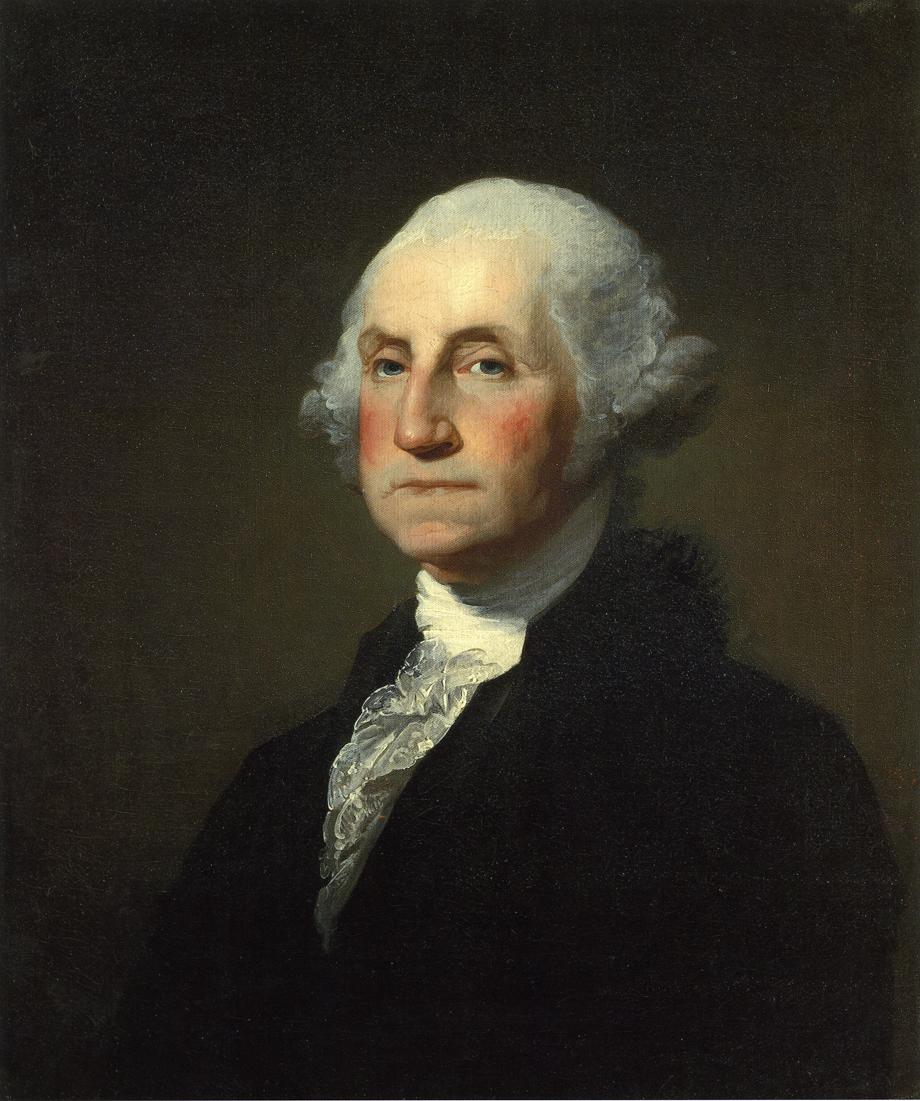
George Washington
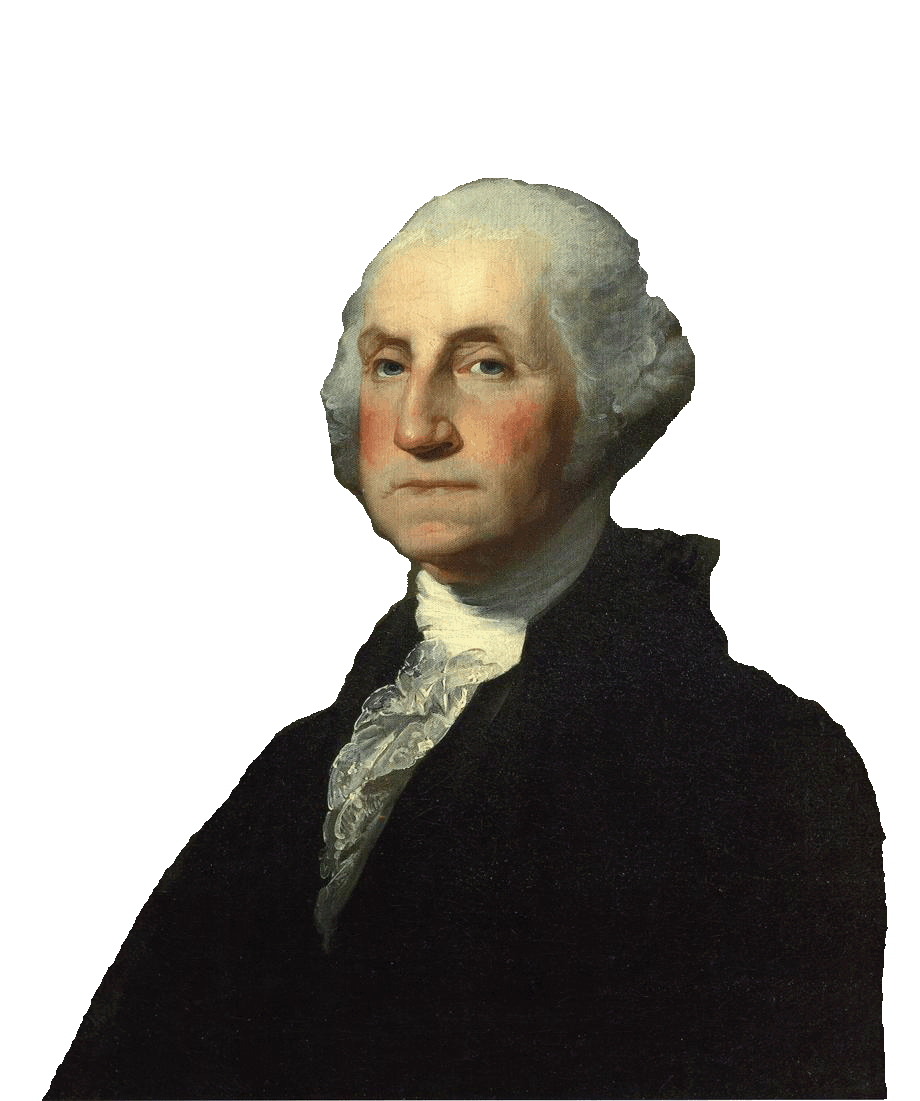
Cut Out Background
- Open image in Photoshop
- Choose Save As
from the File menu and give a new name
- Double-click background layer to change to Layer 0
- Select the Eraser tool - adjust size and begin to erase the background
- Save both images as .jpg and attach in JupiterGrades

Gradient Text
- Open a new file - File > New > Blank file >
select default size and Transparent background
- Select the Vertical or Horizontal Type Mask Tool to enter horizontal text
- Enter the type you want,
- Select the Gradient tool.
- In the options bar, click the desired gradient type (linear, radial, angular, reflected, or diamond).
- Choose a gradient fill from the Gradient Picker pop-up palette.
- Position the pointer on the text where you want to set the starting point of the gradient, and drag to define the ending point.
- Save image as .jpg and attach in JupiterGrades
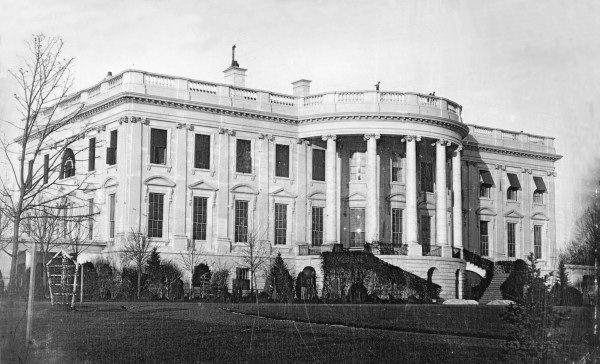
White House in the 1800's
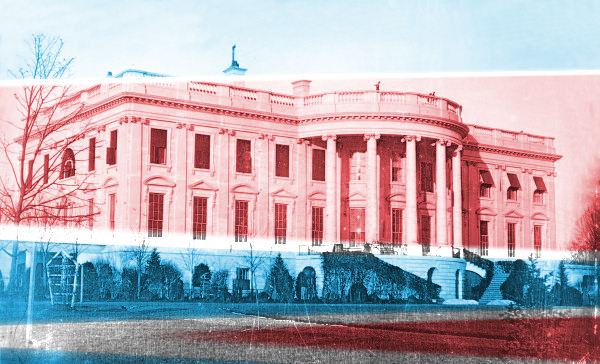
Gradient Fill
- Open image in Photoshop
- Choose Save As from the File menu and give a new name
- Unlock the background by double-clicking on the lock in the layers tab
- Create a new layer
- Select the gradient tool and choose a gradient to use
- Draw where you want the gradient to be on the graphic
- On the layers tab, select Overlay from the pull-down menu
- Use the Opacity slider to adjust the amount of color
- Save both images as .jpg and attach in JupiterGrades

Glowing
- Open a new file - File > New > Blank file > select default size and Transparent background
- Enter text using a large font size
- Go to the Layers menu and choose Flatten Image
- From the Filters menu, choose Filter Gallery > Artistic > Neon Glow - adjust size, brightness and color
- click OK
- Crop image to desired size
- Save image as .jpg and attach in JupiterGrades
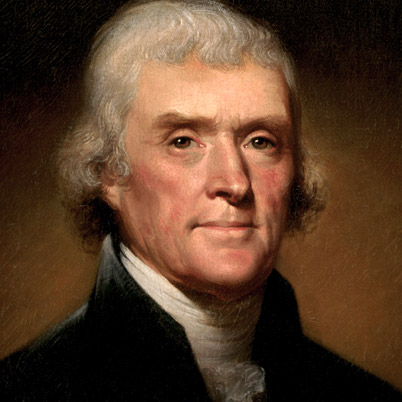
Thomas Jefferson
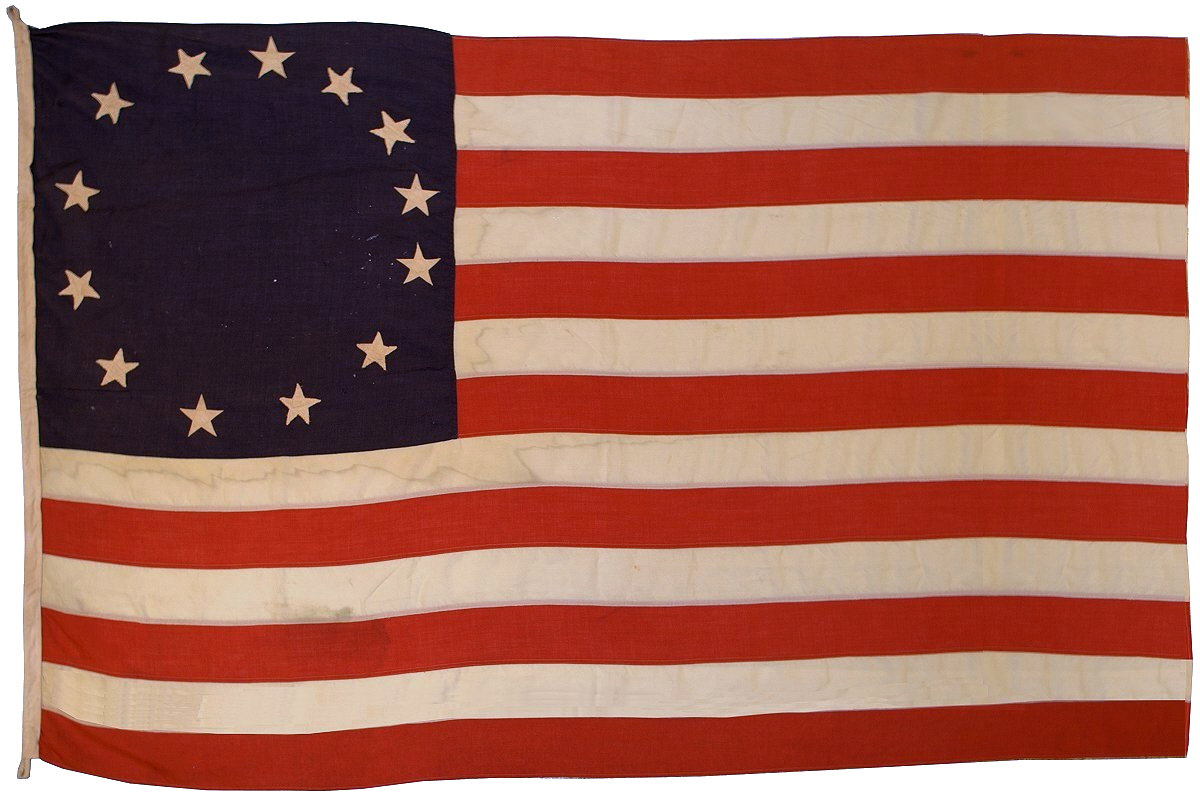
Original US Flag
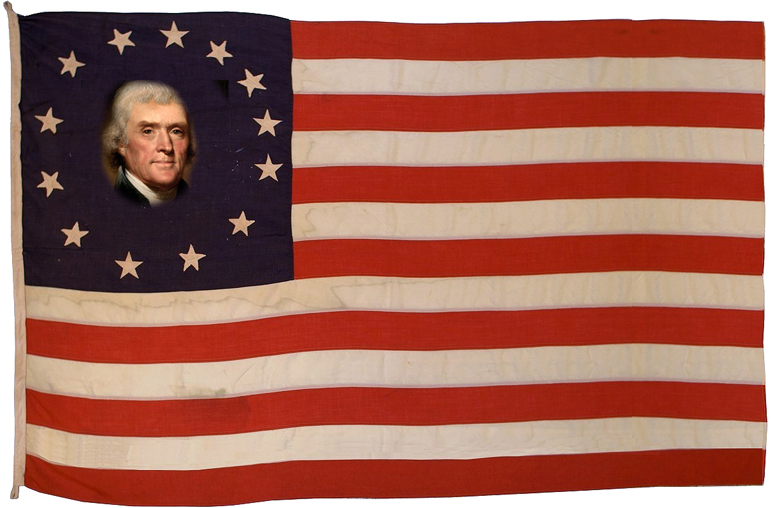
Merging Images
- Open a new blank file
- Open two images that you want to merge
- Select All > Copy and then Paste into the new
file, do this for all images that you are merging
- Adjust image size and placement
- Select the Eraser tool - choose one with soft edges - adjust opacity as needed
- Erase the portion that you want removed in order to merge both images into one image
- From the Layers menu, choose Flatten Image
- Crop as needed
- Save all images as .jpg and attach in JupiterGrades
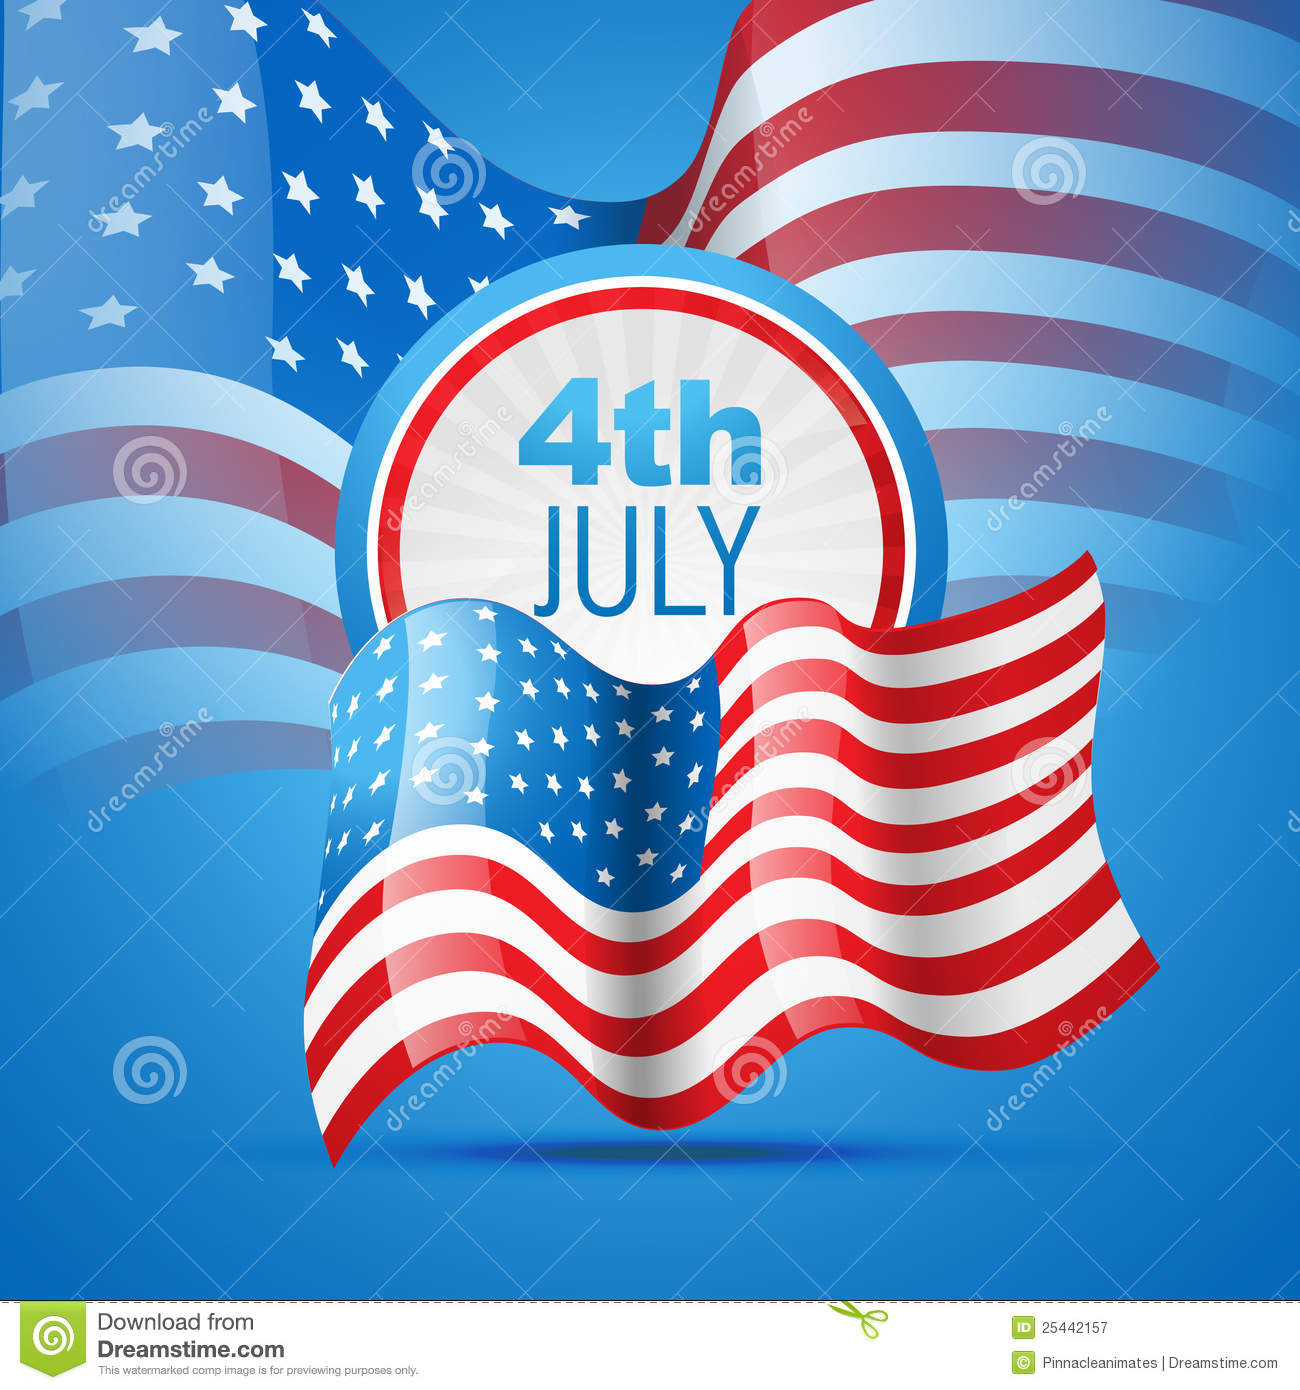
July 4th poster
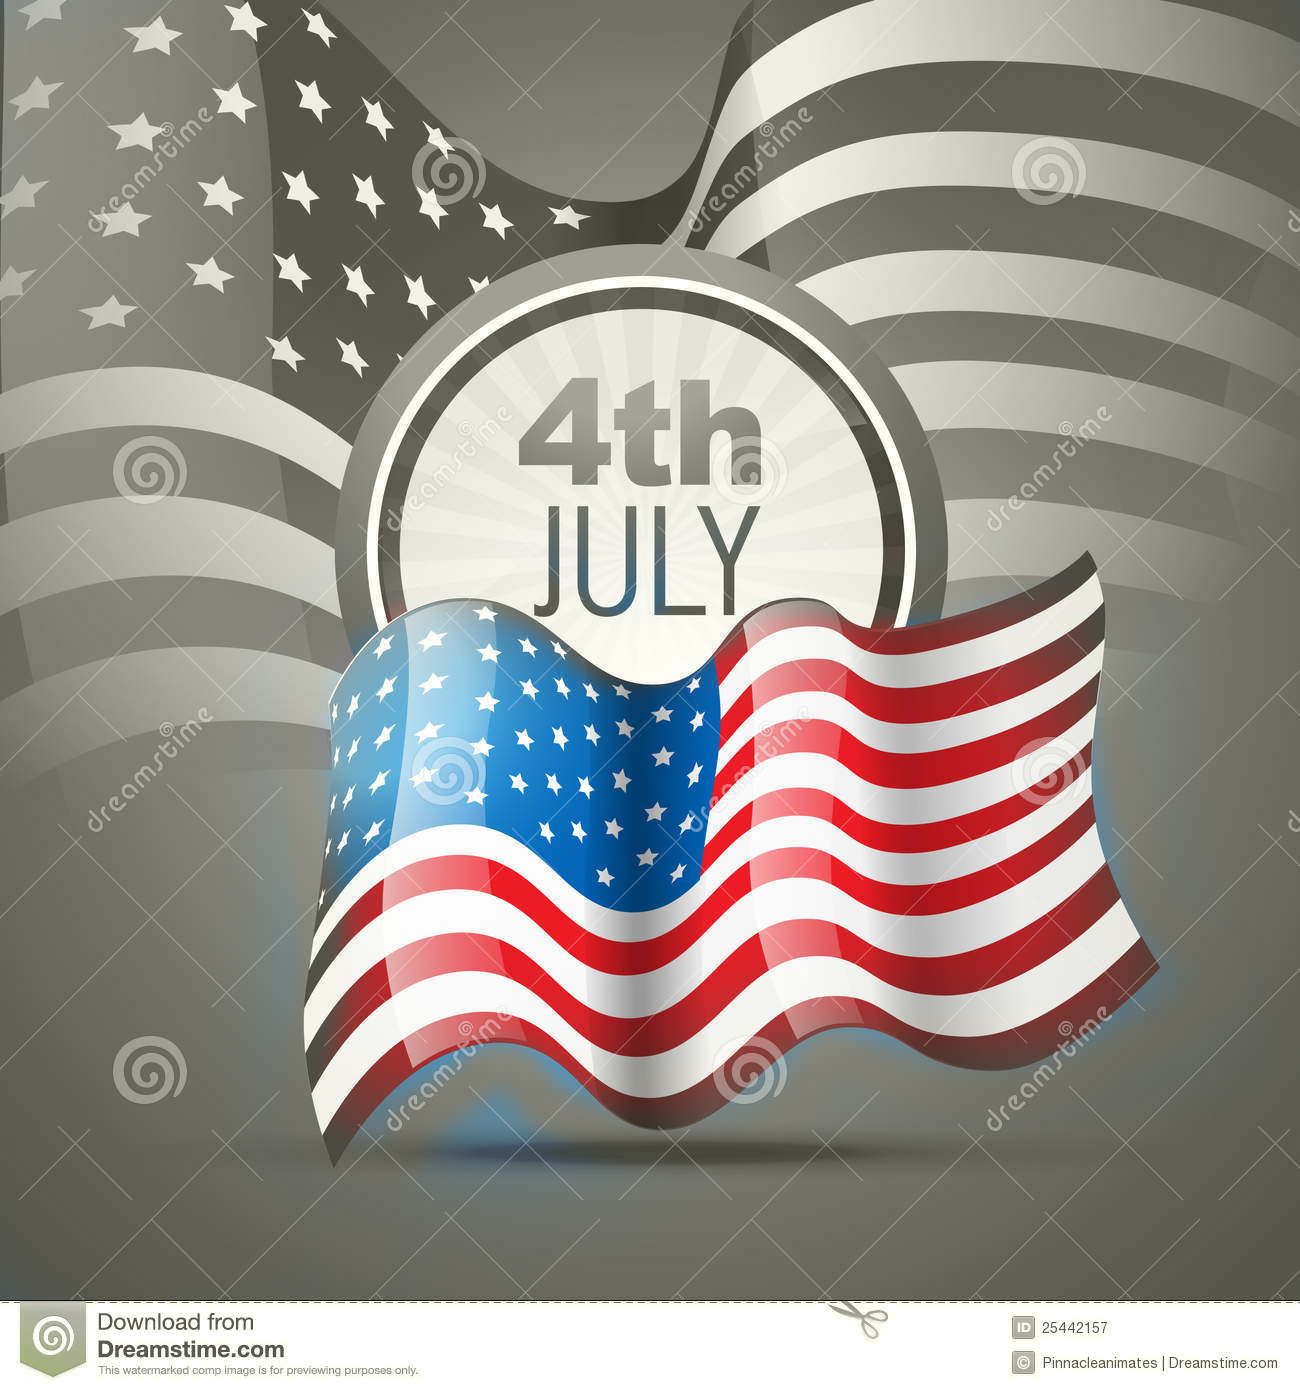
Paint Away
- Open image in Photoshop
- Choose Save As from the File menu and give a new name
- Unlock image if needed
- Select the Brush tool and change the Mode to Color
- Choose a soft edged medium sized brush
- Change paint color to gray
- Start painting gray over the portion from which you want to remove the color
- Adjust the size of the brush as needed
- This will leave a portion of the image in Grayscale, while leaving the rest in full color
- Save both images as .jpg and attach in JupiterGrades
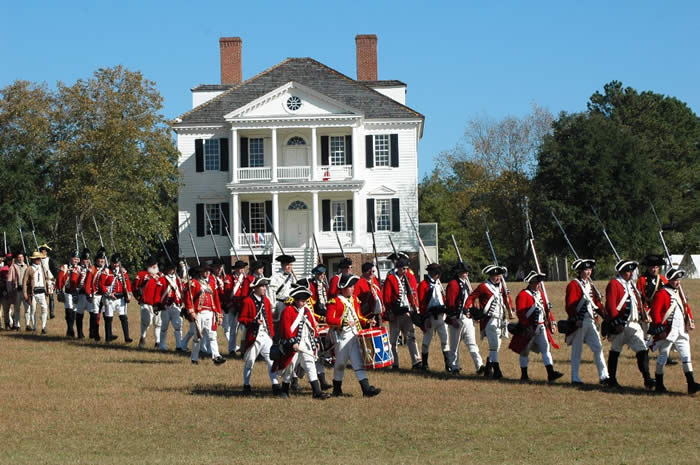
Boston Massacre
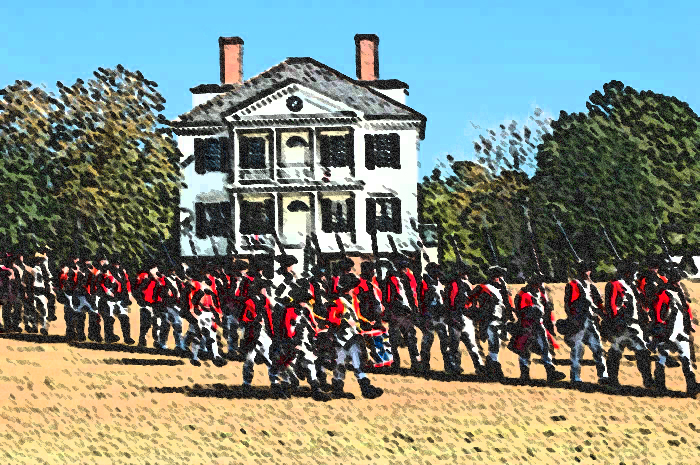
Sketches - Poster Edges, Smudge Stick, Film Grain
- Open image in Photoshop
- Choose Save As from the File menu and give a new name
- Unlock if needed
- Go to the Filters > Filter Gallery - use the Poster Edges, Smudge Stick, Watercolor, Sketch and /or other Filters to change the photograph into a sketch image
- Save both images as .jpg and attach in JupiterGrades